How I've Prevented More Lower Back Pain in the Last 12 Years
I’ll never forget the time it took me 30 minutes to stand from a seated position. The spasms debilitated my body over and over as they sent me back to the floor, each time in excruciating pain. After four nights in the hospital for two bulging disks (L4/L5, L5/S1), I quickly changed my approach to fitness and my overall health. The following tips have nearly eliminated my back pain since, and they will help you too (with the help of Kelly Starrett's book Becoming a Supple Leopard)!
The Neutral Spinal Position
Personal Trainer Wisdom: Poor spinal mechanics can lead to various bio-mechanical compromises and increase the potential for injury. Organizing your spine in a braced neutral position means that your ears are aligned over your shoulders, your ribcage is balanced over your pelvis, and you're engaging the musculature of your trunk to stabilize (brace your position). (Starrett)
Keep the natural curves of the lower back and neck! When you maintain this position, the pressure on your disks (the green) is minimized. On the other hand, the flexion spinal fault (rounding your shoulders forward) and overextension spinal fault (tilting your hips forward and downward), as seen in Image 2, will increase the pressure on the disks. Translation: Rounding or arching your back can destroy your disks, possibly leading to a bulge or herniation (among other physical problems and imbalances).
Any time a fitness professional asks you to "flatten your back," constantly adjust your alignment to reflect the neutral position instead. If you flatten your back, you are using force on your spine to achieve this instructed effect, adding pressure to your disks and compromising the principles of the Neutral Spinal Position. Every time you bend your spine out of this line, you risk injuring yourself (even if you're sitting or standing in a stationary position).

Image 1: Neutral Spinal Position

Image 2: Flexion and Overextension Spinal Faults
Perfect your Posture: How to Organize Your Spine
Personal Trainer Wisdom: The bracing sequence is the blueprint for organizing your spine in a braced neutral position. It would be best to run through the bracing sequence every time you set up to perform a movement, get ready to sit down, or reset your posture (until it becomes automatic/autopilot). Here's the step-by-step setup in a nutshell:
Stand with your feet straight and your posture upright. Squeeze your butt and externally rotate from your hips to set your pelvis in a neutral position.
Align your ribcage over your pelvis.
Engage your abdomen to lock in the position.
Pull your shoulders back into a stable position and align your ears over your shoulders, hips, and ankles. (Starrett)
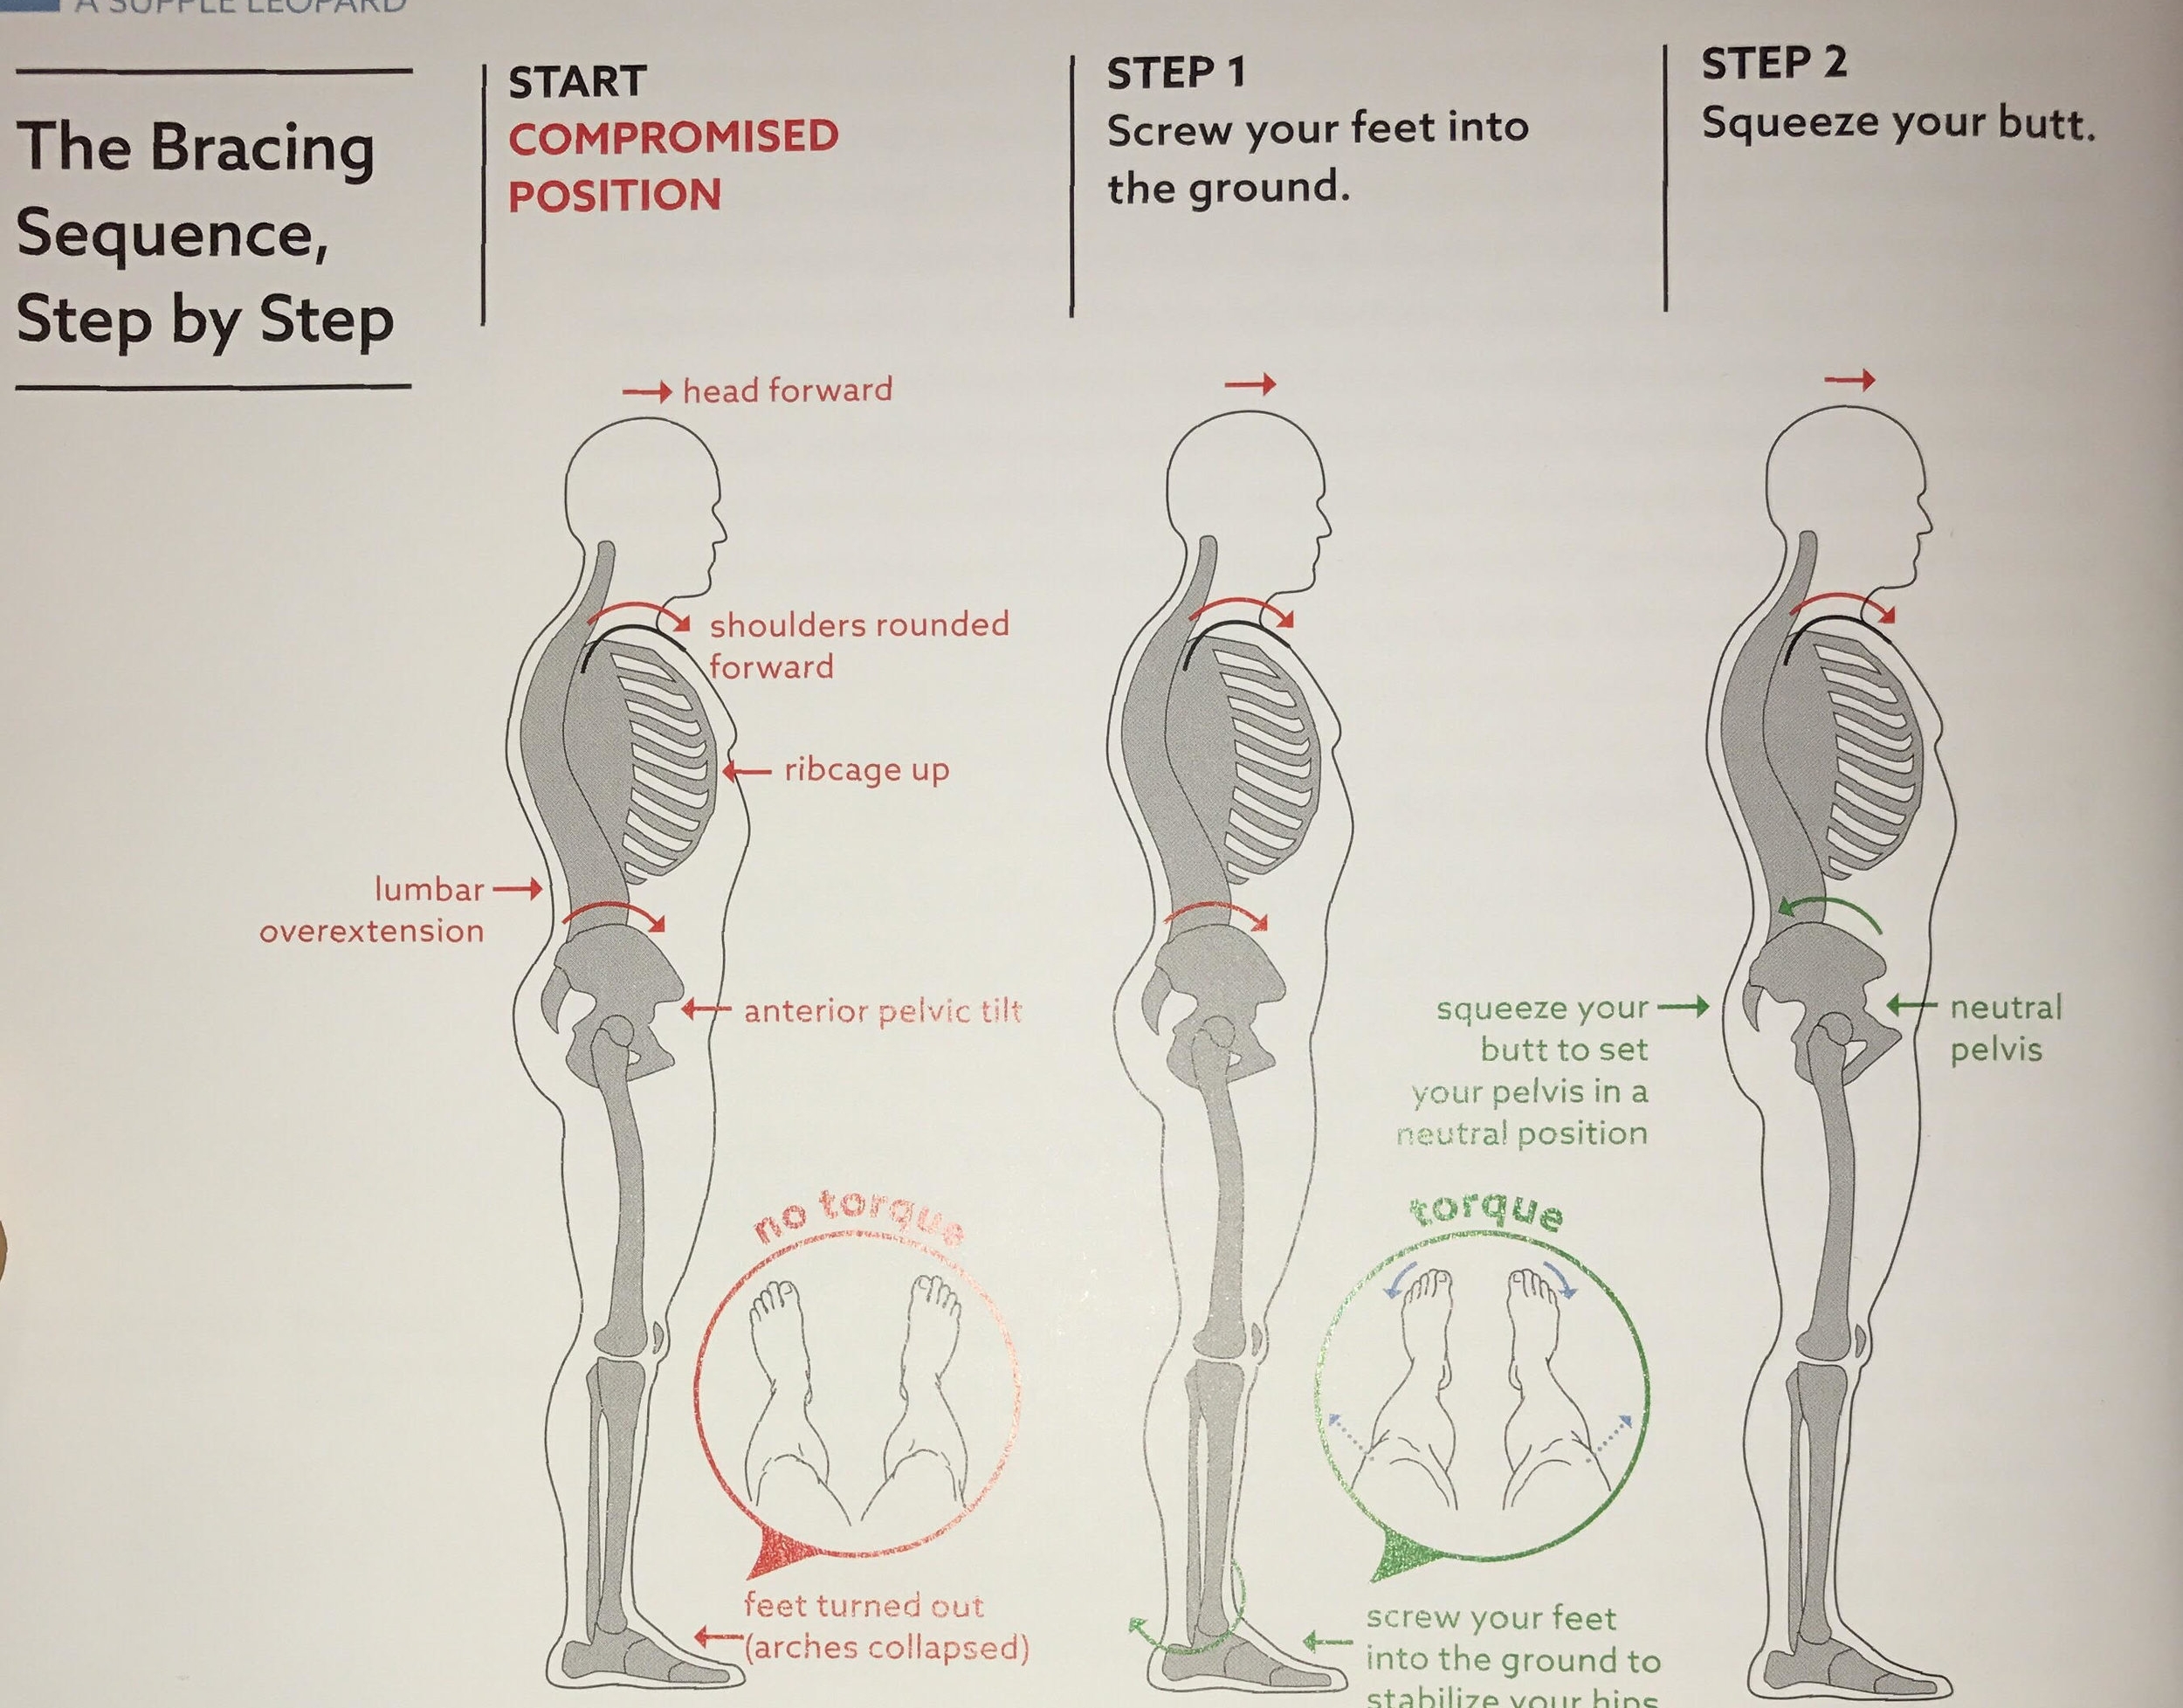
Image 3 The Bracing Sequence Step-by-Step

Image 4 The Bracing Sequence Step by Step Step 3 to Finish
Braced Neutral Sitting and Texting Positions
Personal Trainer Wisdom: Sitting and standing are skills that take practice. Use the bracing sequence to set your posture and maintain a neutral position while sitting and standing (even if you are leaning forward or back). Refer to Image 5 for an example. (Starrett)

Image 5: Braced Neutral Sitting and Texting Positions
Pelvic Rotation While Sitting
Personal Trainer Wisdom: I know...all this talk about a neutral spine position makes you want to curl up into a ball. I will assure you that most of your injuries and discomfort are, in one way or another, a result of how you have been compromising your spine. You may want to think twice about curling up. You may want to think twice about sitting. Not only does this position keep your hips flexed (causing an imbalance), you are likely to lose your neutral spine over your stressful day. Take a look at Image 6. When you fall out of the neutral spine position by rounding or arching your back, you compromise your spine (specifically the disks). Although it doesn't seem like enough force or pressure on the spine, the compression will undoubtedly add up over time. Ask the 1 in 3 people around you who experience chronic back pain.

Image 6: Pelvic Rotation While Sitting
Standing Up Out of the Bottom (Seated) Position
Personal Trainer Wisdom: While Image 4 demonstrates the proper way to squat or sit with a neutral spine, Image 5 shows you how to stand up from the bottom (or seated) position. Please remember that Starrett refers to a neutral spine whenever he mentions a flat back.
Sitting is a squat with a long pause in the bottom position. Even if you remain seated for an extended period, your back stays neutral, shins vertical, and knees out.
When you stand up, reclaim tension by loading your hips and hamstrings by hinging forward at the hips.
Keeping your back in a neutral position, shove your knees out and stand up, just as you would when performing a squat.

Image 7: Standing Up Out of the Bottom Seated Position
My Specific List of Lower Back Rules
Personal Trainer Wisdom: Here is my specific list of lower back rules:
Sleep on my back in a neutral position. Sleeping on your stomach will put you in extension (arching your back), and sleeping on your sides (rounding your back and internally rotating your precious shoulders) will put you in flexion—no bien for sustained periods.
Only sit in chairs or stools where my knees fall below my hips. Most booths and chairs compromise my neutral spine by forcing a posterior pelvic rotation (rounding my back).
I use a self-inflating back pillow for the natural curve of my lower back on flights. I adjust the inflation based on whatever is a natural fit for my lumbar curve, allowing me to sit comfortably in a neutral spine position.
I carry my work gear and computer in a backpack (using both straps over my shoulders). Slinging any bag on a single side will create an imbalance. That includes a purse of any weight and size, my female friends.
Don’t run. I train many marathon runners and certainly encourage you to continue if you don’t feel discomfort. If you do, though, accept that running (or jumping) can be quite a bit of compression on your spine. Remove the unnecessary stress and walk on the beloved Stairmaster instead (less impact on the joints).
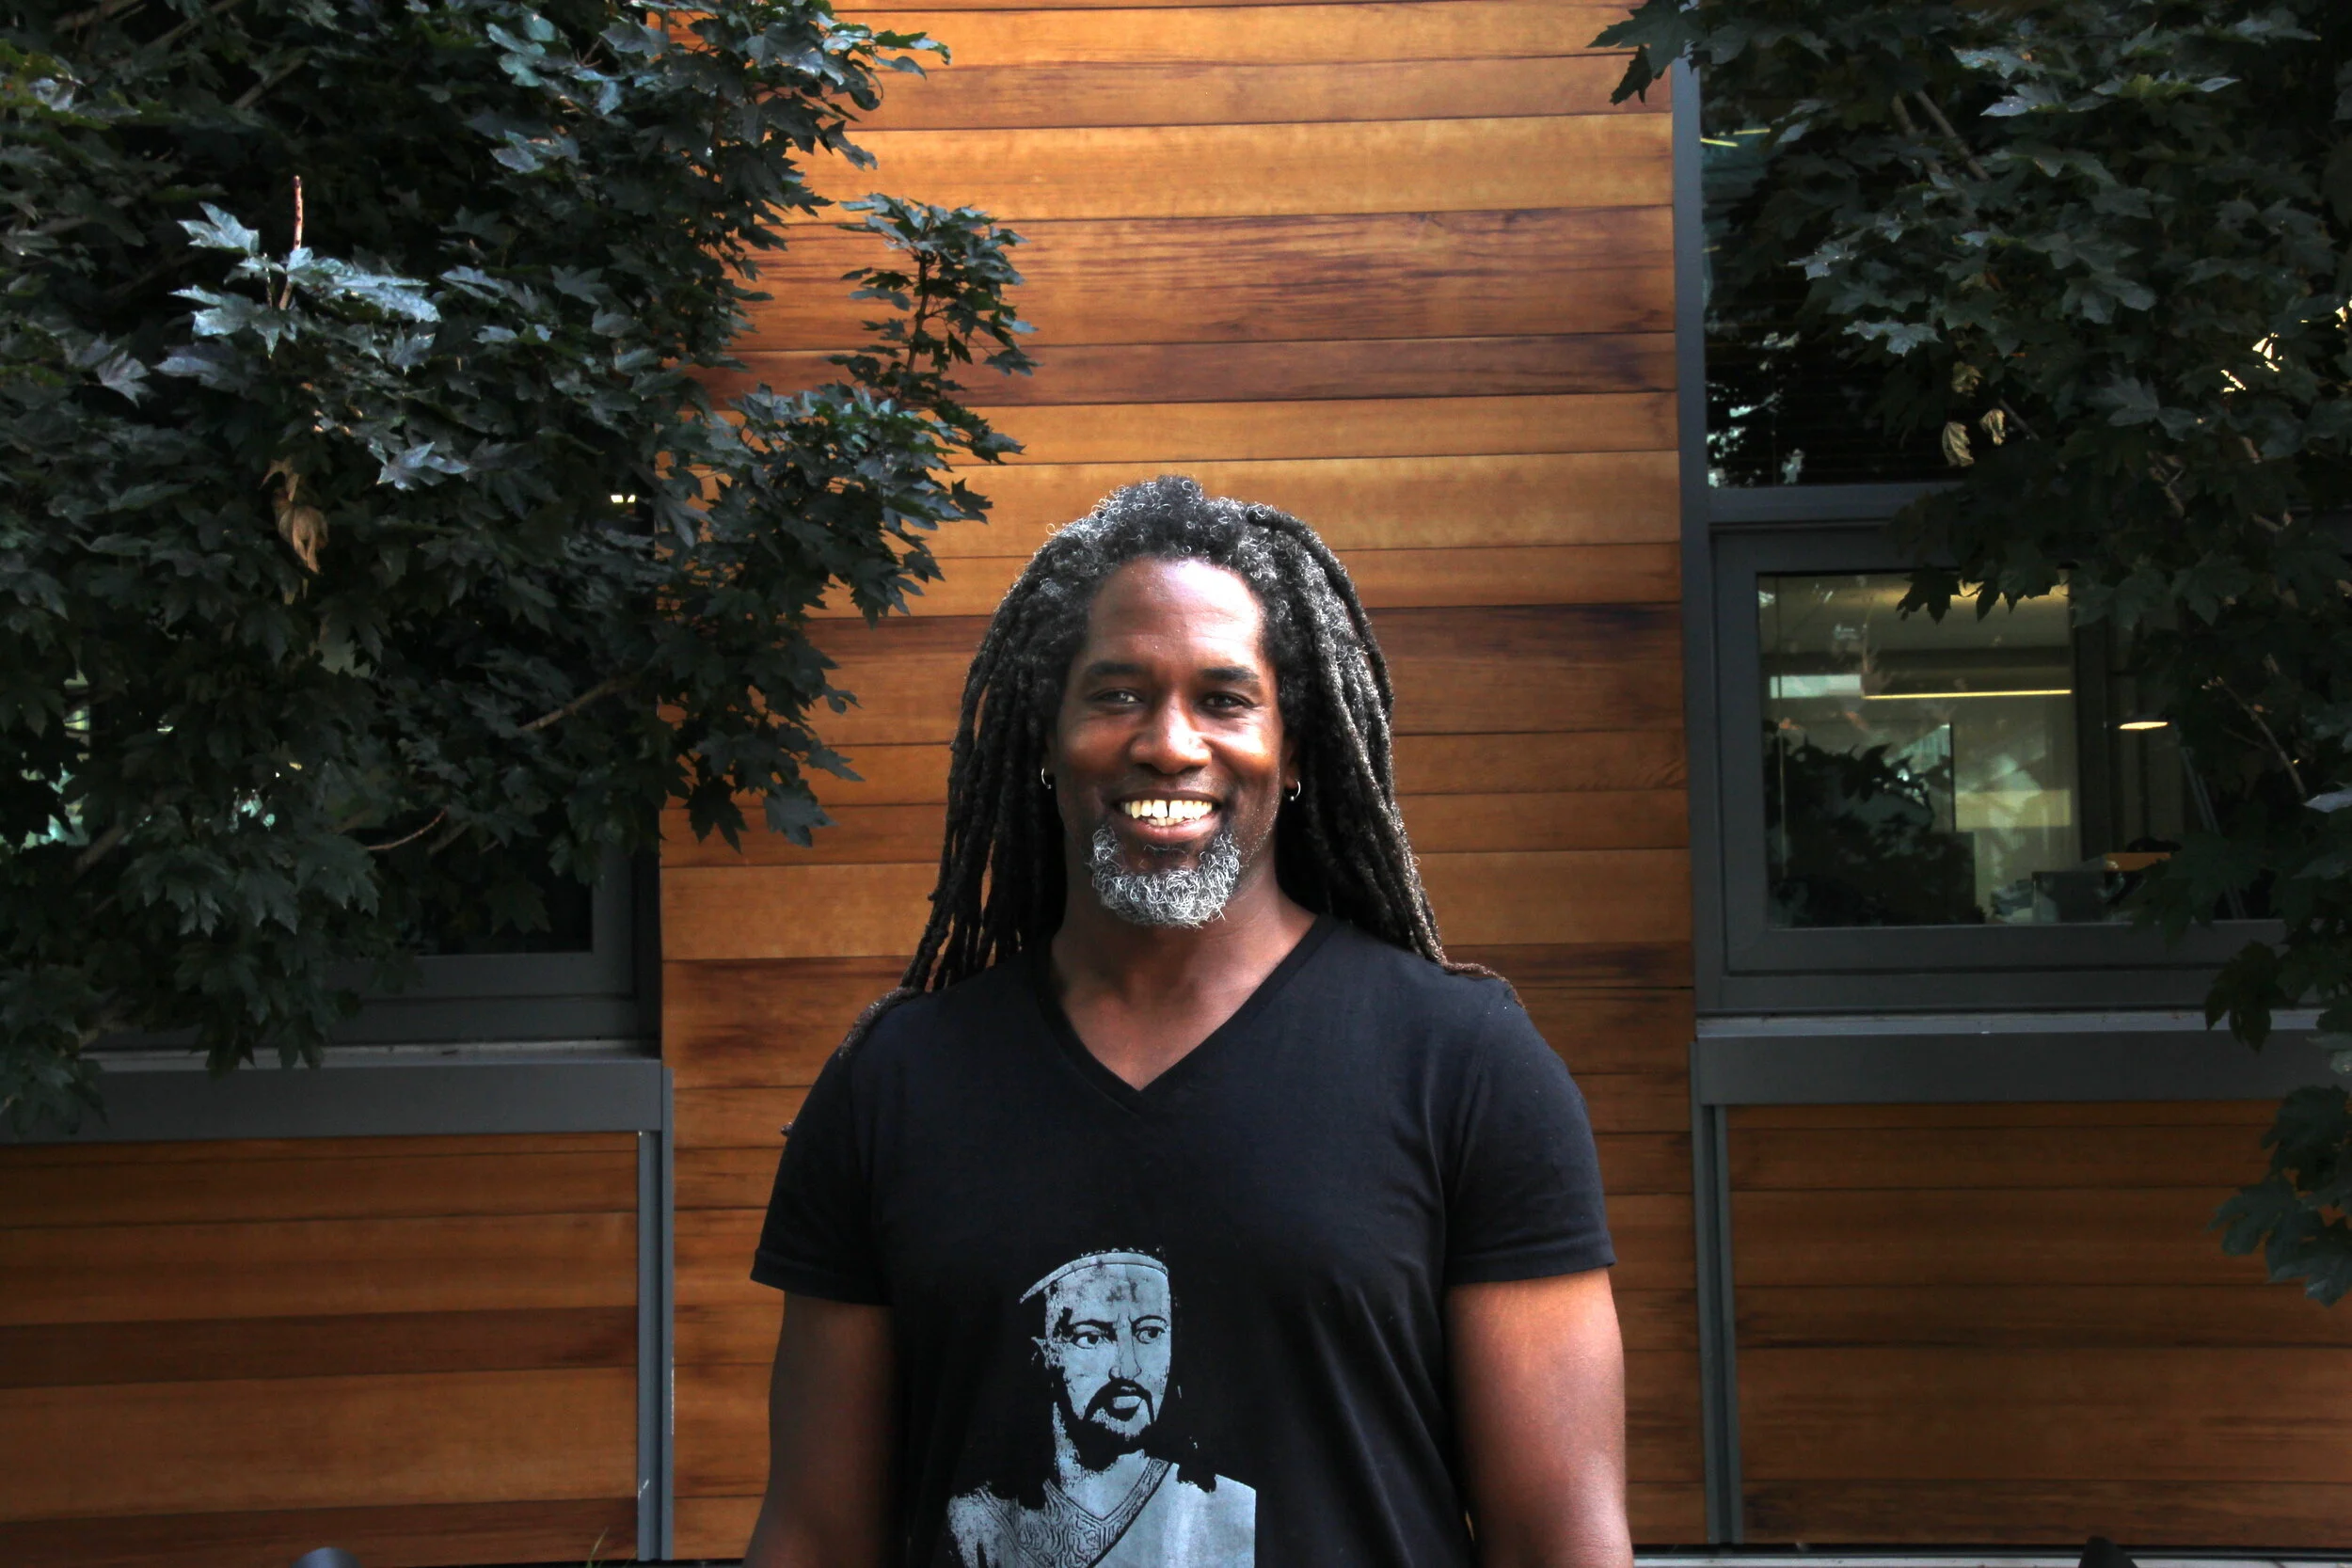
ABOUT THE AUTHOR: MICHAEL MOODY, PERSONAL TRAINER
As an author, a personal trainer in Denver, and podcast host, Michael Moody has helped personal training clients achieve new fitness heights and incredible weight loss transformations since 2005. He also produces the wellness podcast "The Elements of Being" and has been featured on NBC, WGN Radio, and PBS.
Michael offers personal training to Denver residents who want to meet at the 2460 W 26th Ave studio….or in their homes throughout LoHi (80206), LoDo (80202), RiNo (80216), Washington Park (80209), Cherry Creek (80206, 80209, 80243, 80246, 80231), and Highlands (80202, 80211, 80212). Michael also offers experiences with a personal trainer in Jefferson Park (80211) and Sloan's Lake (80204, 80212).
If you’re looking for a personal trainer who can curate a sustainable (and adaptable) routine based on your needs and wants, Michael is the experienced practitioner you’ve been looking for. Try personal training for a month…your body will thank you!